The end is finally in sight, and it is about time for renovation cleaning. After months of dust, drilling, and daily voice messages with your ID (interior designer), your home renovation is almost complete.
Hold up! Before you start sending out those housewarming invites, and firming up the post-renovation cleaning, there’s one more crucial step — the final walkthrough with a pre-renovation-cleaning checklist. This should be done collaboratively between homeowners, IDs, and renovation contractors.
This is your last chance to point out any defects and confirm that everything you’ve paid for has been delivered and done properly. Sure, most IDs offer a 6- to 12-month warranty period, but why wait to fix issues later when you can settle everything upfront?
Here’s the sequence you should follow: Finish Renovations → Conduct Defect Checking → Book Post-Renovation Cleaning → Move In & Celebrate 🎉
Here’s a (non-exhaustive but super handy) checklist to guide you during that final walkthrough, before the cleaning crew arrives:
🔧 What to Bring for Pre Renovation Cleaning Checks
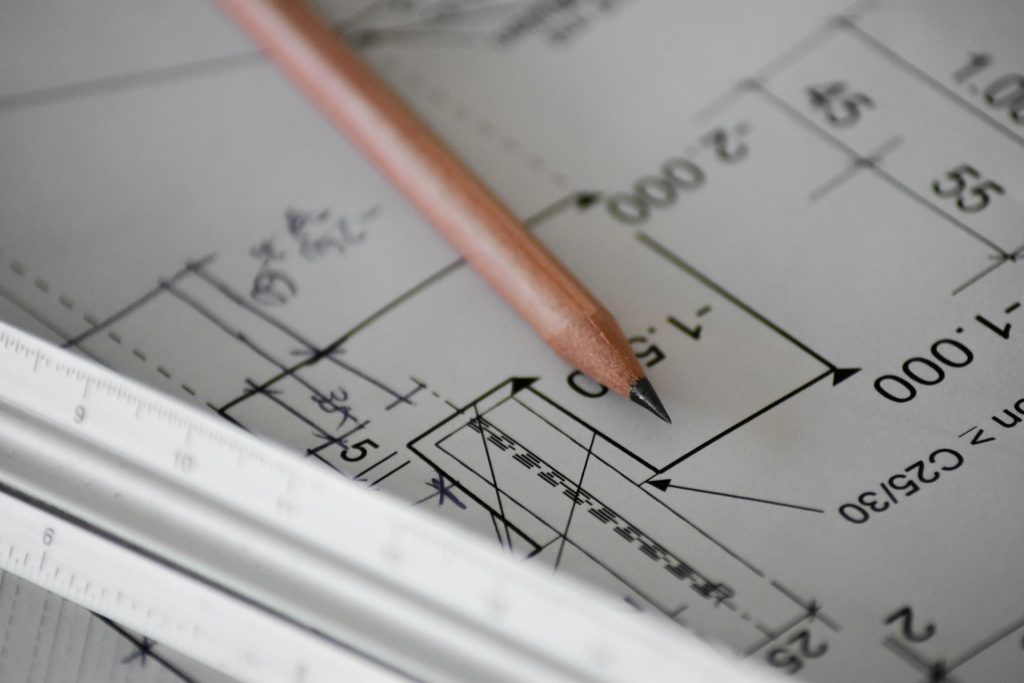
1. Your Quotation, Electrical & Lighting Plan + 3D Renderings
Don’t rely on memory alone. Bring along your itemised quotation, electrical and lighting plans, and any 3D renderings you’ve received. No matter how many verbal changes you discussed with your ID, what’s written down is what counts. Tip: Mark each item off as you inspect it so you don’t miss a thing.
2. Torchlight (or your phone flashlight in a pinch!)
A powerful torchlight can reveal flaws hidden by mood lighting — things like cracked tiles, grout lines, or misaligned panels in shadowy corners that are easy to overlook.
3. Spirit Level
Not everything that looks straight actually is. Use a spirit level (IKEA sells affordable ones!) to check for alignment. Run it along long drawers, countertops, or cabinet doors, and hold it vertically to check whether tall panels or shelves are tilting.
4. Measuring Tape
Ensure all built-in carpentry has been constructed according to the agreed-upon dimensions. Trust, but verify!
5. 3-in-1 Power Adaptor + Plug-in Device (e.g. mini fan)
Use this combo to test whether your power sockets are live and functional — especially hidden ones behind wardrobes, headboards, or kitchen cabinets.
6. Masking Tape or Post-Its
Stick these directly on walls, cabinets, or tiles to mark out flaws or areas that need touch-ups. Super helpful for your ID or contractor to follow up later.
🧐 What to Look Out For Before Renovation Cleaning
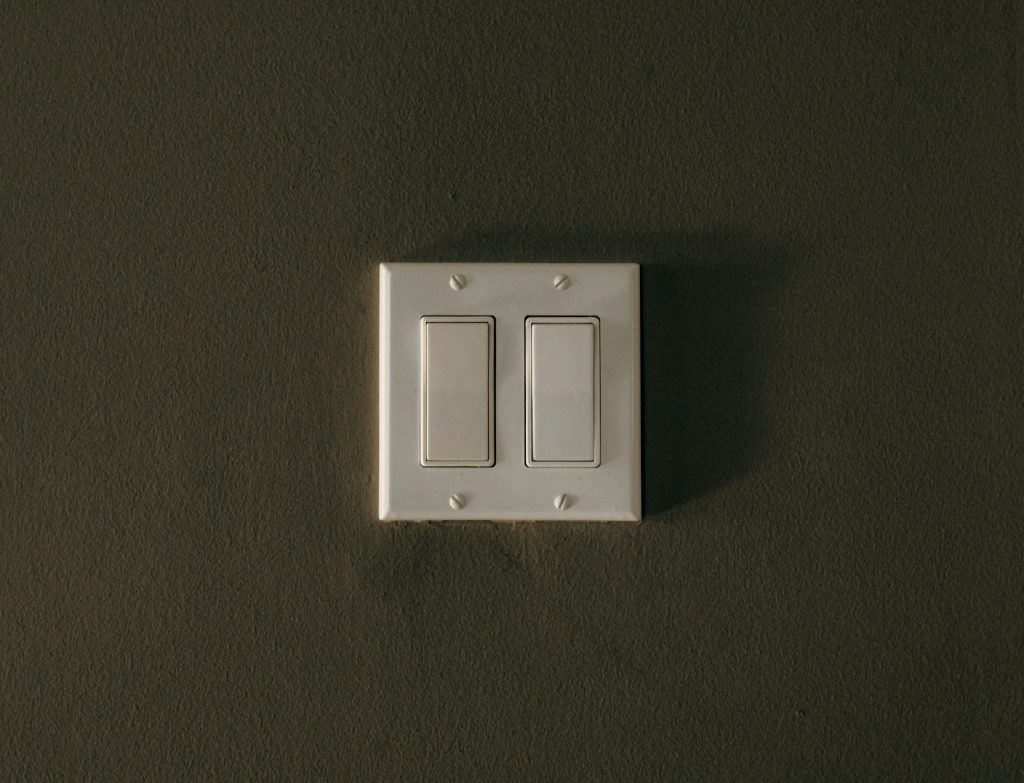
🔌 Electrical and Lighting Points
- Do all the switches work?
Flip every one, not just the obvious living room lights. Test bathroom mirror lights, cove lighting, service yard or balcony lights. Two-way switches? Check both ends. - Are power sockets live?
Plug your mini fan into each one to verify. Don’t forget older sockets in resale flats that weren’t replaced. Test those tucked behind cabinetry or under vanity tables too. - Check for redundant or duplicate outlets.
Sometimes, old sockets are left behind during renovation changes — a waste of space and confusing down the road. - Do all lights turn on instantly?
Watch for flickering, buzzing, or delays. LED strips in cabinets or cove ceilings should be evenly installed, with no glaring hot spots or light leaks. - Are lights correctly positioned?
Track lights should point in the right direction. Pendant lights should hang straight and centred. Ceiling lights should sit flush and secure. - Are socket placements correct as per the plan?
Especially for special setups — like sockets in your pantry, near your dining table (for hotpot night!), or behind wall-mounted TVs — check if they’re in the right place and accessible. - Smart switches or dimmers?
Make sure they’re the right brand and model, labelled clearly, and responding well to physical toggles and app control. Test your smart home scenes (e.g. “Movie Mode”) too. - Correct power ratings?
Appliances like ovens or heaters need 15A sockets, not standard 13A ones. Double-check the socket type in areas meant for high-power devices.
Why this matters: If electrical sockets aren’t working, your cleaners won’t be able to use wired equipment like vacuum cleaners, scrubber dryers, or steam mops. And without adequate lighting — especially in areas with poor natural daylight — dust and debris may be missed. That’s why post-renovation cleaning is best done during daylight hours, after all lighting and electrical checks are completed.
🌬️ Ceiling Fans & Ventilation
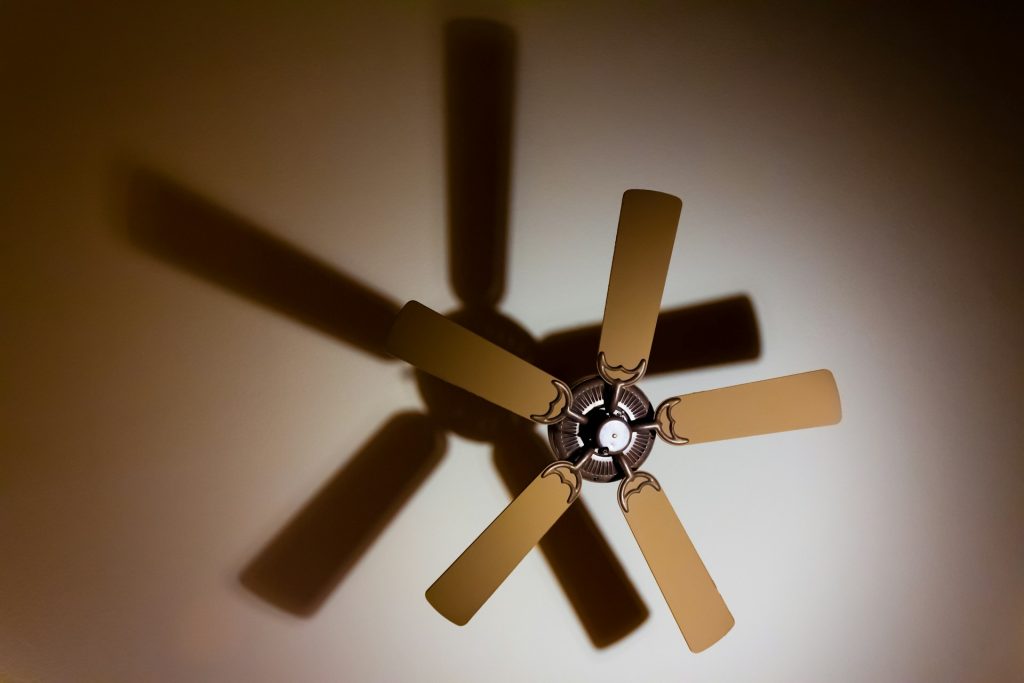
- Ceiling Fans
Are they spinning smoothly without wobbling or strange noises? Test every speed, oscillation, and remote function (or smart features if applicable). - Exhaust Fans
Turn on kitchen hoods and bathroom ventilators. Is the suction strong? Any weird buzzing or rattling? Better to catch this now than after you’ve moved in!
Why this matters: Improperly installed fans or loose ventilation units can be hazardous to cleaners who work near or under them. If a fan malfunctions during cleaning, it may lead to disputes, with homeowners mistakenly blaming the cleaning crew. Always verify that everything is safely installed and functioning first.
🛠️ Also, Don’t Forget These Key Checks
🚿 Plumbing
Test all taps, mixers, and showerheads. Watch for leaks, strange water pressure, or discoloured water. Flush every toilet and inspect traps under sinks for drips. Check if floor traps and drains are working well (no gurgling or slow draining).
Plumbing issues can cause unexpected messes or hazards — not something you want during or after a deep cleaning session!
🪵 Carpentry Finishes and Functional Checks
Open and close every cabinet, drawer, and wardrobe. Are the hinges aligned? Do soft-close mechanisms work? Look for chipped laminate edges or bubbling.
Cleaners can’t be expected to test the integrity of drawers or cabinet alignment, so spot these issues early before your furniture and items are moved in.
🚪 Doors, Windows & Window Furnishings
Open and shut every door and window to ensure smooth operation. Check locks, stoppers, and rubber sealants. Make sure window grilles, curtains or blinds are properly installed.
A stuck or faulty window can interfere with ventilation during cleaning or leave areas inaccessible.
🧱 Walls and Flooring
Scan for uneven paint finishes, cracks, or stains. On tiled floors, knock to check for hollow sounds which could mean poor adhesion. Inspect grouting and transitions between different materials (e.g. vinyl to tile).
Proper finishing on walls and flooring ensures better cleaning results, and helps avoid damage from scrubbing or moisture exposure.
Hey… don’t miss this!
Claim your Discount for a General Home Clean by our dedicated HSS Cleaner! Quote #MEID15BLOG for 15% Off (First Time Customers ONLY) (Valid to 31 Dec 2026 Only)
Book your #1 home services today, or join our team!
meide.sg is here for you, always.
✅ Final Tip
P.S. This pre renovation cleaning checklist is adapted and expanded from the original renovation guide here from Renonation.sg — but don’t forget to book your post-renovation cleaning with a reliable team after this walkthrough. Oh yes, if you are looking for the POST-RENOVATION CLEANING Checklist – you can find it here! Once the defects are sorted and dust has settled, a deep clean is essential before moving in your family and furniture!